Water purification backpacking is not glamorous until your partner is crouched behind a juniper with stomach cramps and three more days of trail ahead. Clean water is one of those systems that seems simple at the kitchen sink and becomes a serious equipment decision when the nearest road is twelve miles away. The right setup depends on where you travel, how many people you support, and whether your water source is a clear mountain creek or a warm cattle tank.
I have carried excellent filters, cheap filters, tablets, and a metal pot into the backcountry. I have also watched people trust a tiny pump after it was dropped on granite, then discover that the cracked housing was only visible when the reservoir was already empty. The trail finds the weak point. A practical system includes treatment, storage, and a backup plan that still works when the primary gadget does not.
What Your Water System Actually Needs to Handle
Start by separating filtration from purification. A backpacking filter physically removes particles, bacteria, and protozoa depending on its design. It does not automatically remove every virus or dissolved chemical. Purification methods, including chemical treatments and boiling, are intended to neutralize organisms that a basic filter might miss. Product specifications matter more than the word “purifier” printed in large letters.
For most North American trips, bacteria and protozoa are the main concern, but heavily used campsites and questionable downstream sources deserve more caution. Giardia is not a souvenir. If the water is cloudy, let sediment settle and pre-filter it through a bandana or spare cloth before using your main device. That simple step reduces clogging and makes pumping less miserable.
Water purification backpacking planning should also account for volume. A solo hiker might treat two to four liters per day, while a group can burn through ten liters during a hot approach, dinner, and breakfast. A device that feels fast for one bottle can become an arm workout for four people. Write down your expected daily use before buying anything.
Choosing Between Filters, Chemical Treatment, and Boiling
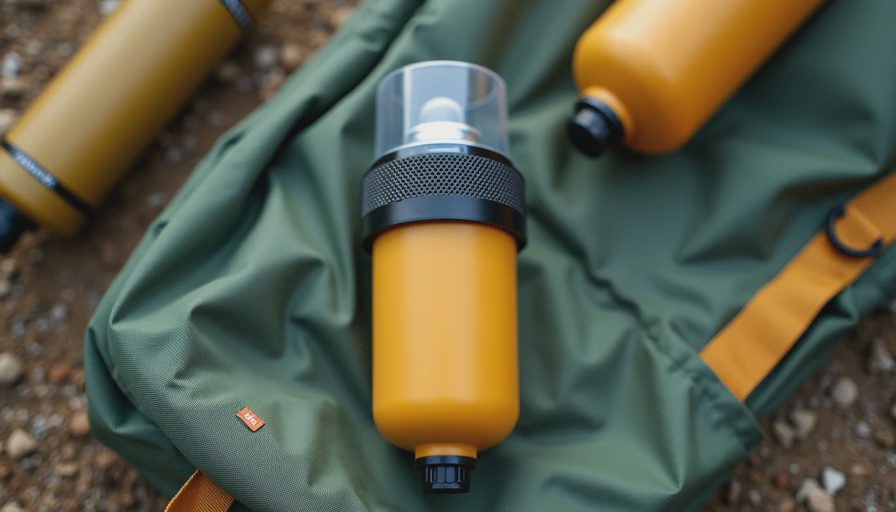
Gravity filters are my favorite option for basecamp and group travel. A Katadyn BeFree or Platypus GravityWorks can process several liters without constant hand pumping, and both pack more comfortably than many rigid pump systems. The tradeoff is patience: you need a hanging point, and a clogged filter turns “easy” into “why did I bring this?”
For solo trips, a squeeze filter such as the Sawyer Squeeze is light, inexpensive to maintain, and easy to pair with standard soft bottles. It needs careful backflushing and should not freeze after it has been wet. Freezing can damage the membrane even when the outside looks perfectly fine. In cold country, keep it in a pocket or sleeping bag overnight.
Chemical treatment is compact insurance. Aquatabs and chlorine dioxide products weigh almost nothing and do not have moving parts. They take time, often around thirty minutes or longer depending on the product and water temperature, and they can leave a taste. A chemical backup is a sensible answer to a broken filter, not a reason to skip carrying enough water between sources.
Boiling remains dependable when fuel is available. Bring water to a full boil, then follow current public-health guidance for altitude and cooling. It is practical for camp cooking but inefficient as your only method on a long, dry-mileage day. Water purification backpacking kits work best when the primary method matches the trip rather than the gear shelf.
How I Build a Redundant Trail Setup
My basic setup starts with a dirty-water container, a clean-water container, the main filter, and treatment tablets sealed in a small bag. Dirty and clean containers never share the same mouth or cap. That sounds fussy until one contaminated cap turns your freshly treated water into a second problem.
For a two-night trip, I might carry a Sawyer Squeeze, a two-liter CNOC Vecto, a clean one-liter bottle, and chlorine dioxide tablets. For a family or vehicle-supported camp, I prefer a gravity system plus a pump or tablets. The extra ounces buy time when a fitting splits, a hose disappears in the brush, or several people need water at once.
Use a dedicated scoop or bottle to collect source water. Do not jam the filter directly into a shallow, silty puddle unless the manufacturer says it is designed for that arrangement. Keep the dirty bag upright, inspect threads before every use, and backflush when flow slows instead of squeezing harder until something fails.
Water purification backpacking gear should be tested at home. Fill the system, treat water, check for leaks, and practice packing it while tired. A five-minute kitchen test catches missing adapters and brittle seals before a trailhead test catches them beside a dry creek.
Matching the Method to the Water Source
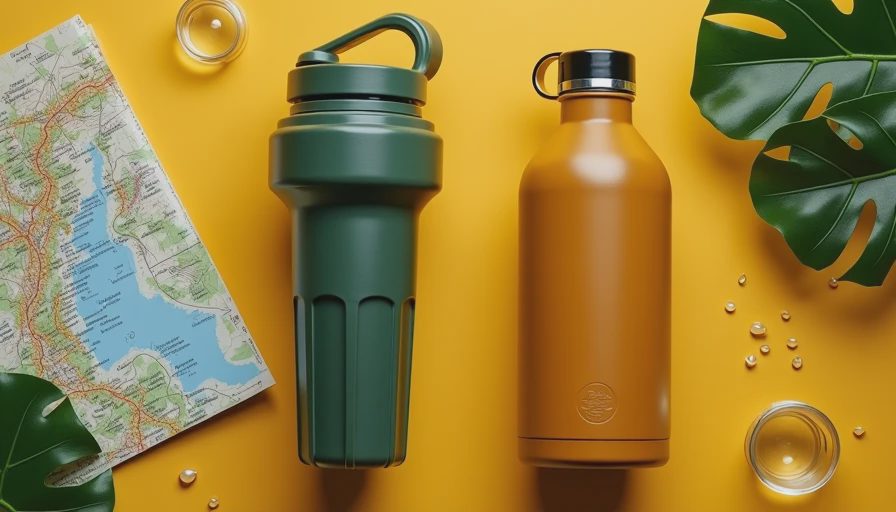
A clear alpine spring is not automatically safe, and a muddy desert stock tank is not automatically unusable. Clear water can contain invisible organisms, while cloudy water can often be improved with settling and pre-filtration. The source, not its appearance, determines the treatment decision.
In desert country, I plan around known water intervals and carry extra capacity rather than assuming the map is current. A seasonal spring marked on an old route guide may be a patch of damp sand. In the high country, snow can help, but melting it consumes fuel and dirty snow can carry debris. In developed areas, avoid water near livestock concentration, mining activity, sewage, or obvious chemical contamination. Filters and tablets are not magic for every pollutant.
For water purification backpacking in a group, establish one person as the clean-water manager. That person keeps the clean bottle caps clean, labels containers if necessary, and tracks how much remains. Small discipline prevents the classic camp mistake: treating water in the dirty bag and then pouring it through the same contaminated funnel used at the source.
A Simple Field Checklist Before You Leave
Check the filter model’s rated capacity, replacement parts, and cleaning method. Pack the correct backflush syringe or adapter if the system requires one. Confirm that treatment tablets are within their expiration date and stored dry. Inspect soft bottles for pinholes by filling them over a sink. Carry at least one container that can hold water if the primary reservoir fails.
Plan the first reliable source and the longest dry stretch. If the route crosses private land, a closed campground, or an area with seasonal restrictions, do not assume access. Download maps, mark alternate sources, and carry enough water to turn around without making a desperate gamble.
Water purification backpacking decisions should also include weather. Hot wind increases demand, while freezing temperatures create equipment failures that do not show up during summer testing. In winter, chemical treatment can be slow and filters can be ruined by freezing. Boiling or a protected purifier may make more sense.
The Practical Bottom Line
The best system is the one you can use correctly when you are hungry, cold, and watching daylight disappear. For a solo weekend, a squeeze filter with chemical backup is hard to beat. For groups, a gravity filter saves effort. For cold trips or questionable sources, add boiling or a purifier rated for the organisms you expect.
Do not buy based solely on weight or a dramatic flow-rate claim. Ask how the device handles sediment, freezing, replacement parts, and a cracked bag. Water purification backpacking is really failure planning disguised as gear selection. Spend a little time testing the setup, keep clean and dirty sides separate, and carry a backup that does not depend on the same fragile component.
Looks ready and is ready are different things. Your water kit does not need to be expensive, but it does need to work after a hard mile, a dusty source, and one careless drop. That is the kind of preparation that gets you back to the truck instead of turning a good trip into a rescue story.

No comments yet — be the first to share a thought.