A bear bag is simple equipment with an unforgiving job: keep food, trash, and scented items away from wildlife while you sleep. Done properly, it protects your camp and keeps a curious animal from learning that tents mean dinner. Done badly, it becomes a nylon sack hanging three feet off the ground, which is less a food-storage system than an invitation.
I have seen plenty of expensive overland builds carry recovery boards, dual batteries, and enough lighting to land an aircraft, then toss loose snacks into a soft cooler beside the tent. The trail finds the weak point. Food storage deserves the same practical attention as tire pressure and recovery gear.
What a bear bag actually needs to do
A useful bear bag system has three jobs. It must contain odor-producing items, keep animals from easily reaching the contents, and let you store camp food away from where people sleep. The bag itself is only one part of that system. Rope, carabiners, a throw line, a storage location, and your packing habits matter just as much.
Start by separating food from daily camp clutter. Include dog food, cooking oil, toothpaste, deodorant, sunscreen, garbage, and anything with a noticeable smell. A sealed package is not automatically odor-proof. If you cooked bacon in a pot, that pot belongs in the storage plan after it cools, not beside your sleeping bag.
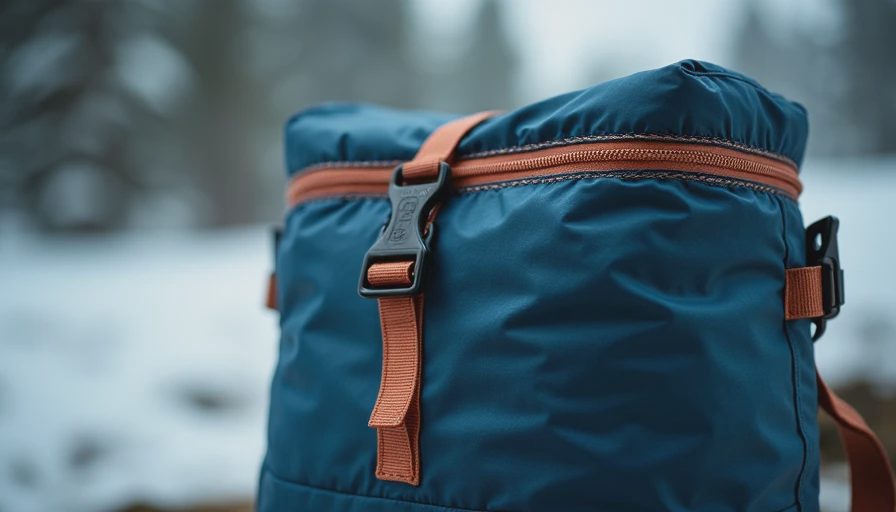
A bear bag should use a strong closure and abrasion-resistant fabric. A basic dry bag can protect food from rain, but it is not automatically bear-resistant. Models from companies such as Ursack are designed for wildlife-resistant food storage, while a traditional hanging bag depends heavily on the quality of the hang. Always follow local land-management rules because some areas require an approved hard-sided canister rather than a soft sack.
How to hang a bear bag without fooling yourself
The classic method uses a rope over a sturdy branch, with the bag pulled up and away from the trunk. The goal is to make the food difficult for an animal to reach from the ground, the trunk, or a nearby branch. Exact distance requirements vary by land manager, and many popular campsites do not have a branch that is both high and strong enough.
Choose a tree at least a reasonable distance from your sleeping area and cooking spot. Avoid dead limbs, trees with obvious claw marks, and branches that angle back toward the trunk. Tie your line so you can lower the bag without climbing. A small rock in a throw bag works better than launching a metal object into the dark and hoping it does not return with interest.
The most common failure is a bag hanging too close to the trunk. The second is a weak branch that bends until the bag drops. The third is tying a knot that looked clever at camp and becomes a permanent mystery at breakfast. Practice the system in your yard before the trip. A bear bag is not the place to discover that your rope handling is theoretical.
When a canister is better than a bear bag
A hard-sided bear-resistant canister is usually the better choice above treeline, in sparse desert woodland, or anywhere suitable hanging trees are unavailable. It is also the right answer when regulations require one. The tradeoff is weight, awkward packing, and limited capacity. A canister that holds several days of food can take up a surprising amount of space in a compact SUV.
Popular examples include the BearVault BV450 and BV500, Garcia Machine canisters, and other models accepted by specific parks or agencies. Acceptance matters more than brand recognition. A container that is legal in one trail system may not meet another area’s requirements, so confirm the current rule before leaving the pavement.
A canister is not a cooler, seat, or camp table unless the manufacturer allows that use. Keep it closed whenever food is not being served, and place it away from cliffs, rivers, or steep slopes where a determined animal could knock it out of reach. The container prevents access; it does not remove the smell or eliminate poor camp placement.
Packing food so the system works
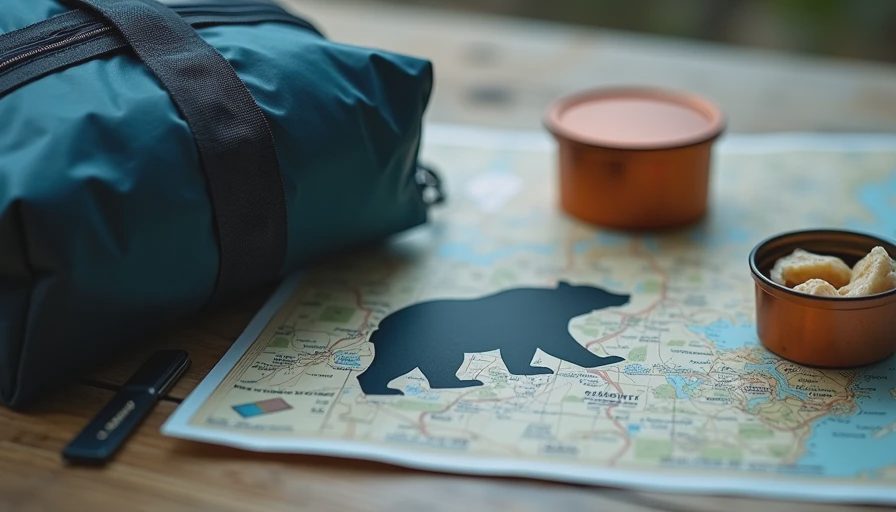
Use compact meals with minimal packaging. Tortillas, instant rice, dehydrated beans, oatmeal, tuna packets, and hard cheese generally pack more efficiently than bulky cans and glass jars. Repackage dry goods into sturdy bags, but retain cooking directions and allergy information where needed. For a two-night trip, count every meal before you start stuffing the storage bag. Hungry campers tend to improvise, and improvisation creates loose wrappers.
Keep a separate small bag for trash and used packaging. Do not assume that a zip-top bag is a complete odor-control solution. Double-bag greasy waste, wipe cookware with a scraper before washing, and store the trash with the food. At camp, serve meals away from the tent, then clean the cooking area before bed. A bear bag cannot compensate for bacon grease on a camp table.
For vehicle-supported trips, use a rigid lockable storage box during the day and transfer food to the required overnight system at camp. Never leave food visible inside a vehicle in an area where wildlife has learned to break windows. A locked truck bed is not necessarily wildlife-proof, especially if the container is soft-sided or the vehicle is parked near camp.
Common mistakes that cost more than better gear
The first mistake is buying a bag before checking the rules. The second is relying on a decorative cord that stretches, cuts into bark, or snaps under a loaded sack. Use a rope rated for the job, inspect it for abrasion, and carry enough length to adapt to real trees rather than the perfect tree in a product photo.
Another mistake is storing only dinner. Bears and other animals are interested in calories, not your meal plan. Lip balm, pet food, candy wrappers, and dish rags can all create problems. I keep a written food checklist in the vehicle because fatigue makes obvious omissions surprisingly easy.
Do not cook in the sleeping area, and do not carry a snack into the tent because you plan to finish it later. That is a garage decision with trail consequences. Once an animal associates a campsite with food, the situation becomes dangerous for everyone, including the animal.
A practical setup for most weekend trips
For a typical two- or three-night forest-road trip, I would pack a durable storage bag or approved soft container, 50 to 100 feet of suitable rope, a throw line, two locking carabiners, spare cord, and a small repair kit. Keep the storage gear together in a marked pouch so it does not get buried under tire tools and recovery straps.
Before leaving, check the destination’s food-storage rules, estimate the total volume of meals and trash, and practice raising the loaded bag. At camp, establish the cooking area first, identify the storage tree or canister location, and finish food chores before daylight fades. Lower the bag in the morning, inspect the rope, and repack it dry.
The best bear bag is not necessarily the lightest or most expensive option. It is the system you understand, practice, and use consistently. Looks ready and is ready are different things. Spend the money where it solves your actual problem, follow local requirements, and give wildlife no reward for visiting your camp.
No comments yet — be the first to share a thought.