A bear spray holster is not glamorous gear, and that is exactly why people get it wrong. It sits on a belt, pack strap, or vehicle door until the one moment when fumbling costs time. On a backcountry trail, the goal is simple: keep the canister protected, upright, and reachable with either hand while you are moving, wearing layers, or dealing with a nervous dog. A pouch that looks rugged on a website can still fail when mud, buckles, and a loaded backpack enter the picture.
I have seen people toss bear spray into a side pocket because the holster felt inconvenient. That is a garage decision with trail consequences. The right setup should disappear during normal hiking but become obvious under stress. Before buying, check the canister dimensions, release method, mounting location, and whether you can draw it without looking.
What a Good Bear Spray Holster Actually Does
A useful bear spray holster holds the canister firmly without covering the safety mechanism or trigger area. Most commercial sprays from brands such as Counter Assault, Frontiersman, and UDAP use a belt clip, hook-and-loop strap, or elastic retention system. Those systems are not interchangeable in practice. A tight elastic sleeve can be excellent on a waist belt, while a simple clip may bounce loose from a rough UTV ride.
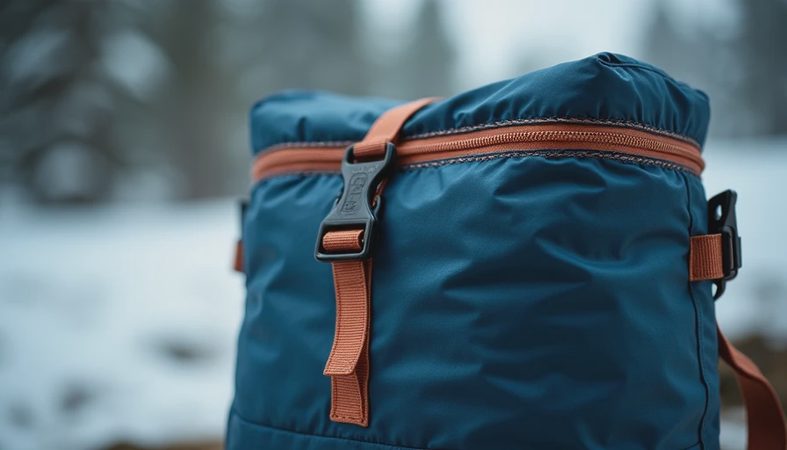
Look for a design that keeps the nozzle facing away from your body and prevents the can from sliding out when you bend, climb, or scramble over a log. A bottom strap is helpful if the holster rides on a pack shoulder strap. Drainage matters too. Rain, creek crossings, and condensation should not leave the canister sitting in a wet pocket for days.
Material choice comes down to use. Nylon is light and affordable, often costing around $15 to $30. Heavier Cordura-style fabric and molded polymer designs usually run from $25 to $50 and tolerate more abrasion. Leather can look good, but it adds weight and may retain moisture. I would rather have a plain nylon pouch with a dependable closure than a handsome cover that makes the spray slow to access.

Choose the Carry Position Before the Product
The best bear spray holster is the one located where your hands naturally go. For many hikers, the front of the hip or a low chest strap works better than the back of the belt. A rear-mounted pouch disappears under a pack hip belt, and a side-mounted canister can catch on brush. Test the position with your actual clothing, not a T-shirt in the living room.
A belt mount is straightforward for short hikes, hunting access roads, and dog walks. It is also easy to inspect. The downside is that a heavy pack belt can crowd it, and sitting in a vehicle can press the canister into your hip. A shoulder-strap mount keeps the spray high and visible, but it must not interfere with a hydration tube or rifle sling. For vehicle-based trips, a second bear spray holster attached inside the cab can make sense, provided it is secured and never left in extreme heat for long periods.
Try this five-minute test before heading out. Put on your pack, tighten every strap, add a jacket, and walk up a short slope. Reach for the spray with your dominant hand, then the other hand. If the canister is hidden, twists sideways, or requires two hands, move it. You are testing access, not posing for a gear photo.
Fit, Retention, and Safe Access
Do not assume a universal bear spray holster will fit every canister. Measure the diameter and height of your specific product, including its safety clip. Some pouches accept a standard 7.9-ounce can but struggle with a taller 9-ounce model. The can should not rattle loudly, but it must not be so tight that you need to wrestle it free.
Retention has a tradeoff. A snap flap offers positive closure but can be slower than an open-top elastic sleeve. Hook-and-loop is adjustable and inexpensive, though it can collect grit and lose bite after years of dust. A molded carrier often gives the cleanest draw, but its clip or belt loop deserves close inspection. Plastic can crack in cold weather, while thin fabric can wear through against a seat edge or pack buckle.
Never modify the safety clip or carry a damaged canister just to make a pouch work. Store and handle bear spray according to the manufacturer’s directions, and avoid leaving it in a hot vehicle. Aerosol pressure and vehicle heat are a bad combination. The holster protects the can during movement; it does not turn careless storage into a safe practice.

Field Problems That Expose Weak Gear
The trail finds the weak point, usually when you are tired. On one trip, I watched a pouch mounted too low on a backpack hip belt get covered by a rain shell. The owner knew exactly where the spray was, but access required opening the shell, lifting the pack strap, and finding the can by feel. Nothing had technically broken. The setup still failed its most important job.
Dust creates another problem. Fine grit can clog hook-and-loop closures and work into clips. Brush can snag an exposed strap. A hard-sided carrier may survive those impacts better, while a soft pouch can flex around the pack. Neither is automatically superior. Match the carrier to the terrain, then inspect it after every trip for frayed stitching, loose rivets, bent clips, or a stretched opening.
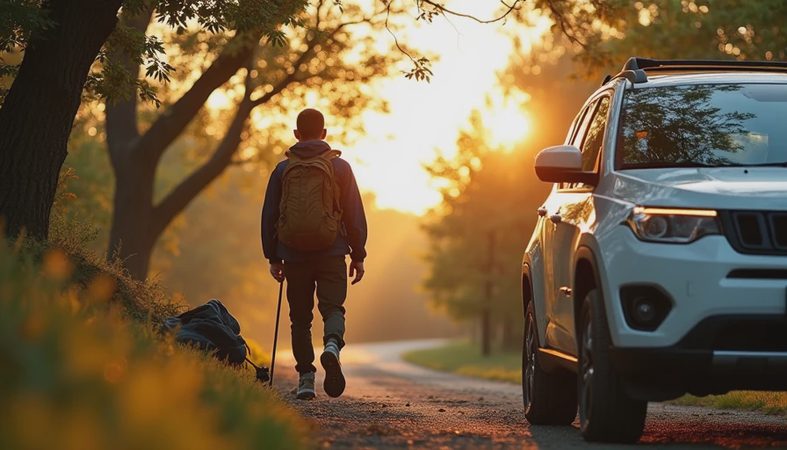
If you travel by truck or SUV, secure spare spray where passengers can reach it without opening a deep cargo drawer. A door pocket can work only if the can cannot roll under a seat. Do not place it beside a heater, in direct dashboard sunlight, or where a collision could turn it into a loose projectile. A bear spray holster is useful storage, but mounting still requires common sense.
A Practical Buying Checklist
Start with the spray, not the pouch. Confirm the brand, canister size, nozzle orientation, and expiration information. Then evaluate the carrier against these questions:
- Can you draw the can with either hand while wearing your normal pack?
- Does the closure stay shut during a brisk walk and rough vehicle travel?
- Is the safety clip protected from accidental snagging?
- Does the mounting system fit your belt, pack strap, or chosen vehicle location?
- Can rainwater drain instead of pooling around the canister?
- Are the stitching, seams, and attachment points easy to inspect?
- Can you replace the pouch without replacing the spray?
A good bear spray holster should answer yes to nearly all of these without requiring a complicated adjustment ritual. If the pouch costs $18 and works with your kit, buy that one. If a $40 molded carrier gives you reliable access in heavy layers, the extra money is easier to justify than a decorative upgrade.
Final Setup Advice for Trail and Overland Use
My preferred arrangement is one canister on the front shoulder strap or forward hip belt, plus a secured spare in the vehicle for longer trips. I check the draw with gloves, a rain shell, and a full pack before leaving the driveway. That takes less time than searching through a cargo bin at dusk.
Buy the bear spray holster for access first, retention second, and appearance a distant third. Replace it when the clip loosens, the closure stops holding, or abrasion reaches the canister. Practice pointing the can away from yourself and others while following the product instructions; a carrier cannot compensate for poor handling. Looks ready and is ready are different things. The right pouch is quiet, boring, and there when you need it—which is exactly the standard trail gear should meet.
No comments yet — be the first to share a thought.