Learning how to filter water while camping is less about buying the toughest-looking gadget and more about matching treatment to the water source. A clear mountain creek, a silty desert stock tank, and a campground spigot create different problems. Get that choice wrong and the trail finds the weak point in your camp plan, usually after dark and several miles from the truck.
The basic process has four parts: collect the cleanest source available, remove sediment, treat the water for microorganisms, and store it so dirty hands or containers do not undo the work. No filter makes questionable water automatically safe from every hazard. Chemical contamination, fuel, pesticides, and some naturally occurring toxins require avoiding the source rather than trying to engineer your way out of it.
Start With the Water Source
Before unpacking a filter, study the source. Flowing water is generally preferable to stagnant water, but fast-moving water is not automatically safe. Look upstream for camps, grazing areas, dead animals, mining activity, or a trail crossing. In dry country, a spring marked on an old map may be a muddy hole by the time you arrive. A recent map, local land-management information, and a backup supply in the vehicle are worth more than confidence in a tiny filter.
Collect from below the surface and away from the edge, where floating debris and concentrated sediment gather. Let a cloudy container sit for several minutes so grit settles. If the water smells like fuel, solvent, sewage, or rotten chemicals, do not filter it for drinking. Move to another source or use water carried from home. Portable filters are designed primarily for biological hazards, not every substance that can make water dangerous.
For most backcountry trips, I carry enough water to cover the first day and treat natural water only as a supplement. That takes pressure off a marginal source. A two-person weekend load might include several gallons in rigid containers, then a filter for cooking and drinking once a reliable creek or lake is confirmed.
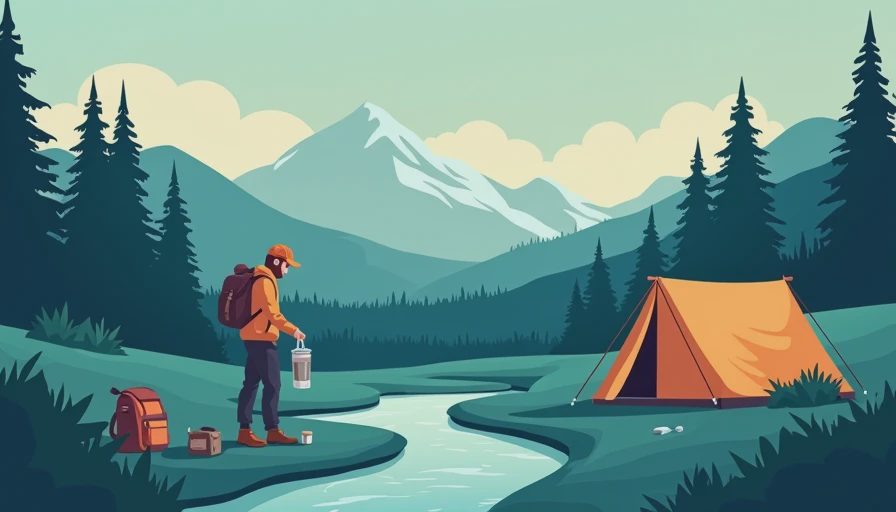
Choose the Right Treatment System
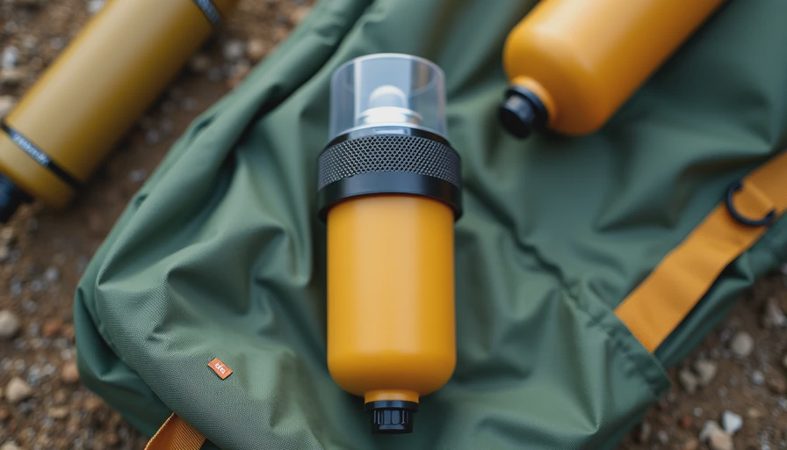
When deciding how to filter water while camping, separate filtration from purification. A hollow-fiber squeeze filter, such as the Sawyer Squeeze or Katadyn BeFree, removes many bacteria and protozoa when used according to its instructions. These systems are light, quick, and practical for one or two people. Their weakness is that many do not remove viruses, and freezing can damage the filter fibers without obvious external signs.
Pump filters such as the MSR MiniWorks EX are slower and heavier, but they can handle larger group volumes and often offer a more serviceable field design. Gravity systems are comfortable at base camp because you fill one bag and let the water run while you set up dinner. They are less convenient when you are moving every hour or when the clean bag gets confused with the dirty one.
Boiling is the dependable backup. Bring water to a rolling boil for one minute; at elevations above 6,500 feet, boil for three minutes. It uses fuel and requires cooling time, but it addresses viruses as well as bacteria and protozoa. Chemical disinfectants can also be useful, especially as a backup, though they require correct dosage and contact time and often leave an unpleasant taste.
UV purifiers can work well with clear water, but cloudy water reduces their effectiveness because particles can shield microorganisms. A filter-and-UV combination gives broader protection, but it also means batteries, charging, and another failure point. Looks ready and is ready are different things, so carry a treatment method that still works if the electronics quit.
How to Filter Water While Camping Step by Step
First, wash or sanitize your hands before handling the clean side of the system. Fill the dirty container without dragging it through mud. If the source is cloudy, prefilter through a clean bandana, a coffee filter, or the manufacturer’s supplied screen. This will not disinfect the water, but it can keep fine grit from clogging the main filter.
Next, connect the dirty and clean sides carefully. Keep the outlet nozzle, clean hose, and bottle opening away from the ground. Pump or squeeze at a steady pace rather than forcing water through a clogged element. High pressure can damage some filters, while frantic squeezing usually makes the job slower later.
After treatment, cap the clean container immediately. Mark dirty and clean bottles with tape if several people are working around camp. Never dip a used cup into the clean reservoir. That tiny shortcut can reintroduce organisms you just removed.
Backflush or clean the filter as directed. Sawyer units, for example, need periodic backwashing when flow slows. Do not use random household cleaners unless the manufacturer specifically allows them. In freezing conditions, keep hollow-fiber filters inside your sleeping bag or insulated vehicle area. If you suspect the filter froze solid, replace it rather than gambling on invisible damage.

Planning for Groups, Kids, and Long Trips
A solo driver can get by with a lightweight squeeze filter and a backup chemical treatment. A family or four-person group needs more capacity and redundancy. Waiting for a one-liter bottle to fill while everyone asks about dinner is how small inconveniences become bad decisions. A gravity system or pump can produce several liters during camp setup, while each person carries a personal bottle for the day.
For a multi-day trip, calculate drinking, cooking, and emergency reserves separately. Water used for oatmeal, coffee, and dehydrated meals still needs treatment. Keep at least one sealed container untouched for the drive out or for an unexpected delay. In hot desert conditions, the reserve matters more than saving a few pounds at the trailhead.
Teach children one rule they can remember: only drink from the bottle marked clean. Adults should handle backflushing, chemical treatment, and source decisions. A tired group tends to share gear casually, and casually shared mouthpieces are not a sanitation plan.
Common Mistakes That Ruin a Good System
The most common error is trusting clear water. Giardia and other pathogens do not make a creek look dirty. The second is assuming a filter removes viruses because the package says it removes bacteria and protozoa. Read the actual rating and instructions before the trip, not beside a questionable pond.
Another mistake is relying on a single method. A filter can clog, a pump can break, tablets can be forgotten, and a UV unit can lose power. My usual setup is a primary filter, chemical backup, and enough carried water to reach a road or alternate source. That is not survival theater; it is the same logic as carrying a tire plug kit when you own a full-size spare.
Finally, do not pack the filter where it can freeze, get crushed under recovery boards, or disappear beneath camp cookware. Place it in a labeled dry bag near the water containers. Gear that cannot be found quickly is functionally missing.
A Practical Camp Water Routine
For most vehicle-based trips, I would collect source water in a clearly marked dirty bag, let sediment settle, prefilter when needed, and run it through a gravity or squeeze system into a clean container. I would reserve boiling for questionable virus risk, a filter failure, or cooking water when the group needs maximum confidence. At the end of camp, I would drain and dry the system according to its instructions before storing it.
That routine makes how to filter water while camping a repeatable process instead of a last-minute chore. Test the complete setup at home. Fill the bags, operate the pump, check every connection, and practice cleaning the filter. The garage is where you discover a missing adapter. The trail is where you discover it was the only adapter.
Water treatment is simple when the plan is honest about limitations. Carry enough to avoid desperate choices, select sources with judgment, use a method suited to the hazard, and keep a backup that does not depend on the same failure point. The goal is not to look prepared beside the vehicle. The goal is to wake up healthy, pack the system without drama, and make the next mile under your own power.
No comments yet — be the first to share a thought.